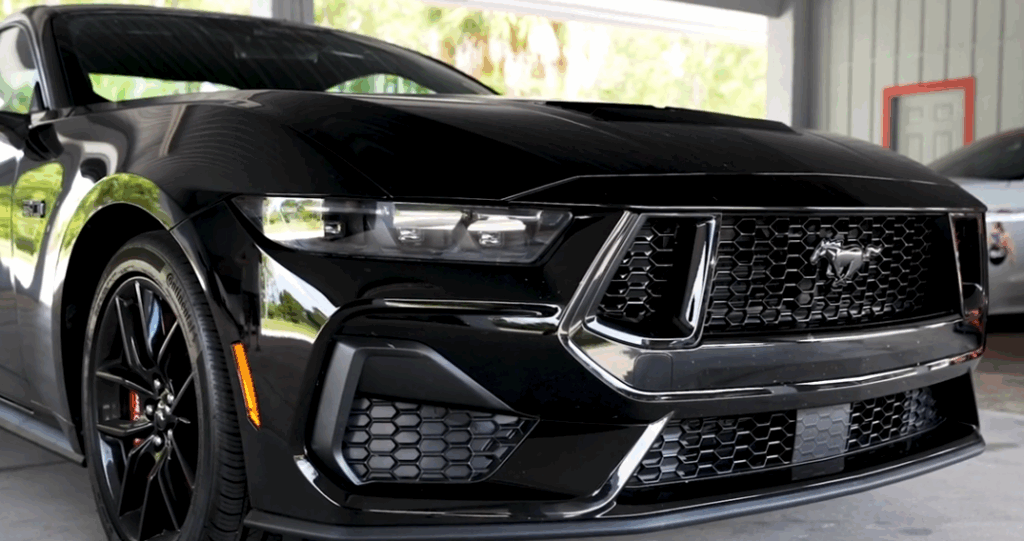
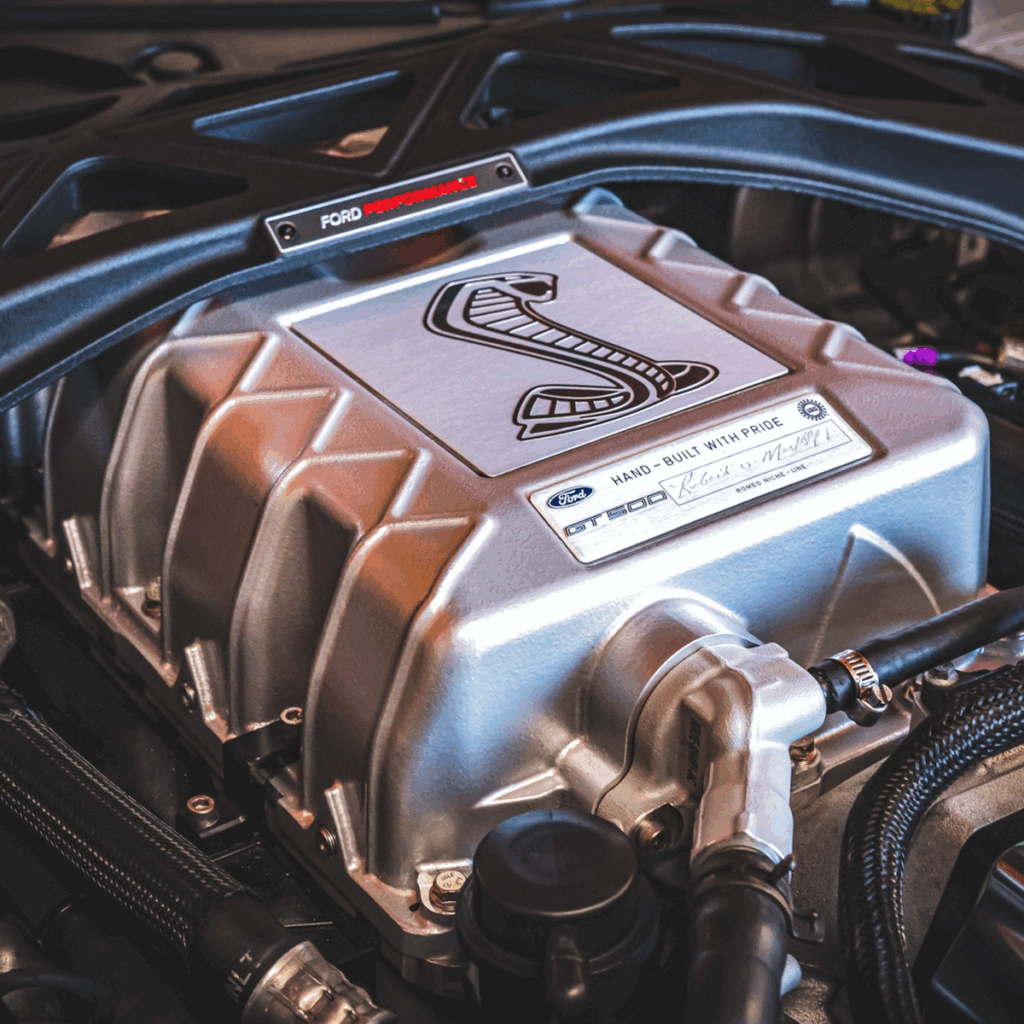
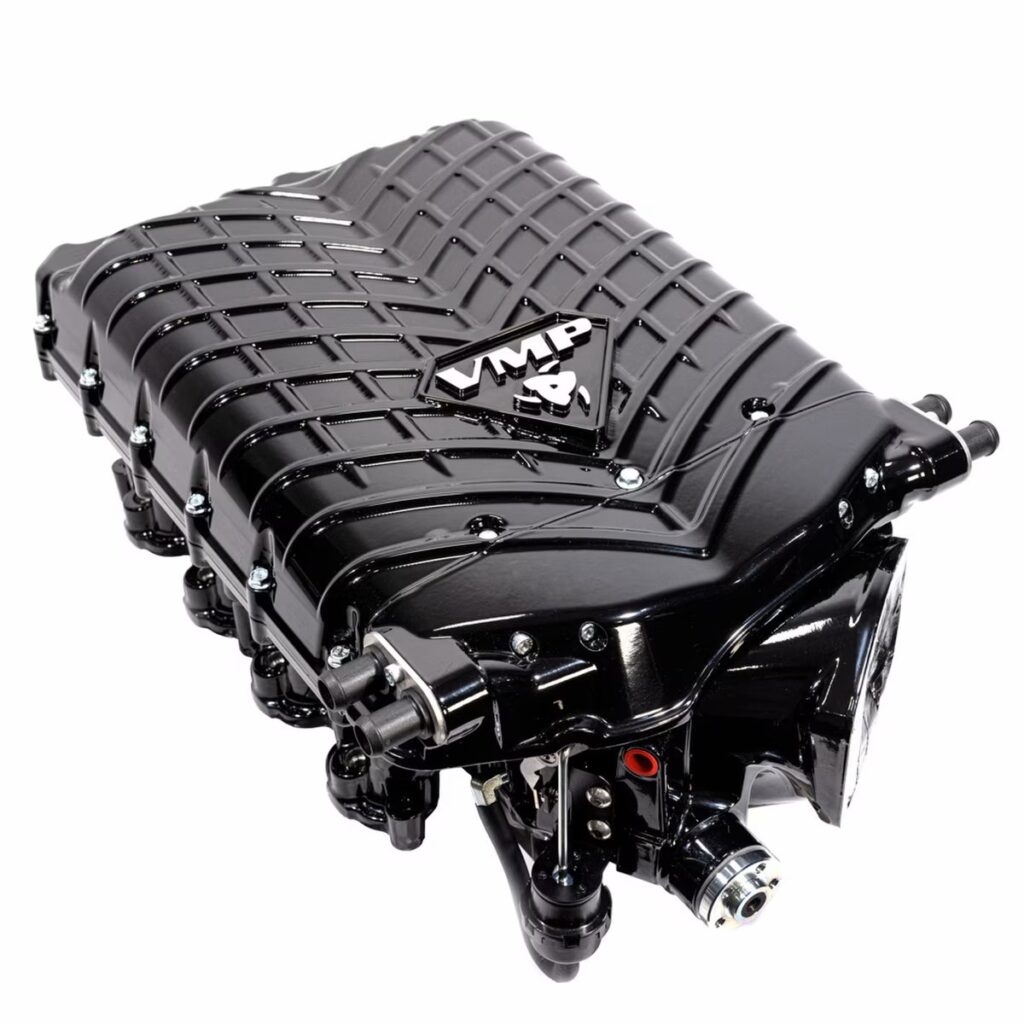
If you’re looking to unlock serious power from your 2024+ Mustang GT or Dark Horse, adding a VMP Gen 6 3.0 L Supercharger is one of the most effective ways to do it. This upgrade delivers instant throttle response, huge horsepower gains, and a factory-quality fit and finish. Below, we’ll walk you through the installation process in simple, step-by-step terms – perfect for the experienced DIYer or shop tech ready to take their Coyote-powered Mustang to the next level.
Keep in mind that this is an overview and not comprehensive – we just want to briefly acquaint you with the process. For further details, refer to the written instructions and review the complete installation video below:
We offer a range of different supercharger kits to suit every need – browse our kits below:
| Performance Gain over Stock | 2024-2025 Mustang 5.0-liter Supercharger Kit |
| 300 rear wheel horsepower | VMP Gen 6 3.0 L Supercharger Stage 1 Kit |
| 350 rear wheel horsepower | VMP Gen 6 3.0 L Supercharger Stage 2 Kit |
| 350+ rear wheel horsepower | VMP Gen 6 3.0 L Supercharger Stage 3 Kit |
| 350+ rear wheel horsepower | VMP Gen 6 3.0 L Supercharger Stage 4 Kit |
Tools And Equipment You’ll Need

Below is a shortlist of some essential tools you will want to have before starting the install:
- Socket set (metric and deep) – including 8mm, 10mm, 13mm, 15mm, and 18mm sockets.
- Torque wrench – for tightening bolts to proper specs.
- Ratchets and extensions – ¼” and ⅜” drive for tight spaces.
- Allen/hex key set – including 5mm and 6mm sizes for bracket and throttle body bolts.
- Flathead and Phillips screwdrivers – for hose clamps and trim fasteners.
- Pliers and side cutters – to remove clips, cut zip ties, and trim plastic.
- Razor blade or utility knife – for precise hose and line cuts.
- Airlift or vacuum coolant bleeder – to fill and bleed the cooling systems.
- Torque-angle gauge or breaker bar – for crank pulley/harmonic balancer installation.
- Zip ties and hose clamp pliers – for securing hoses and harnesses neatly.
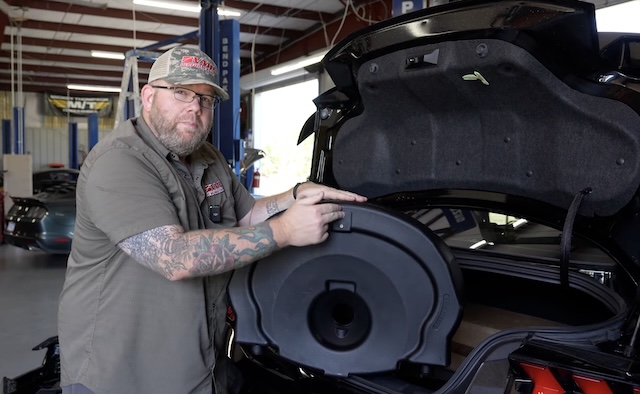
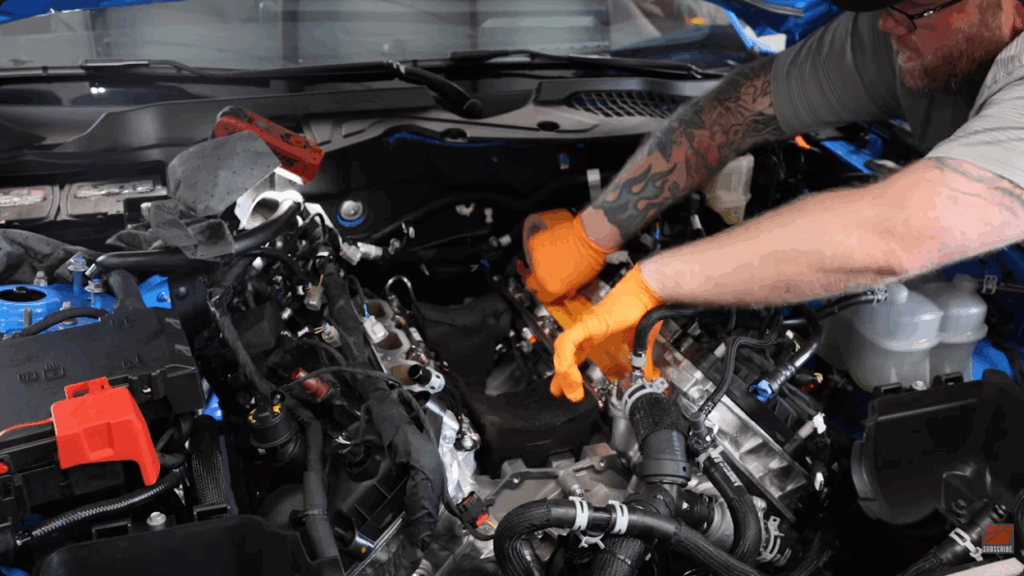
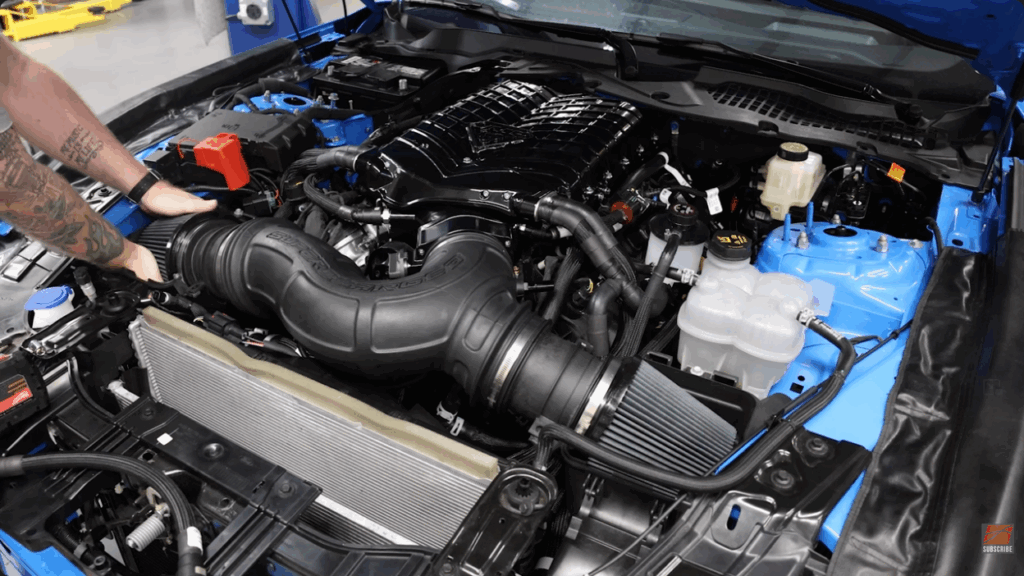
Preparation And Disassembly
Before starting the supercharger install, make sure your workspace is clean and organized. Thorough preparation ensures the new manifold and supercharger fit properly without wiring or sensor interference. You’ll begin by draining the coolant and removing several key components to access the engine valley.
- Drain the coolant completely.
- Remove the heater hoses, PCV lines, and vacuum lines.
- Disconnect the fuel rail and remove the factory intake manifold.
- Clean the engine valley to remove any dirt or gasket residue.
- Make any necessary clearance adjustments for the knock sensor harness and block area.
Intake And Supercharger Hardware Prep
Now that the engine bay is clear, it’s time to prepare the new components.
- Install the 3-bar MAP sensor onto the new intake manifold.
- Apply a thin bead of sealant to the manifold gaskets, then torque it down evenly.
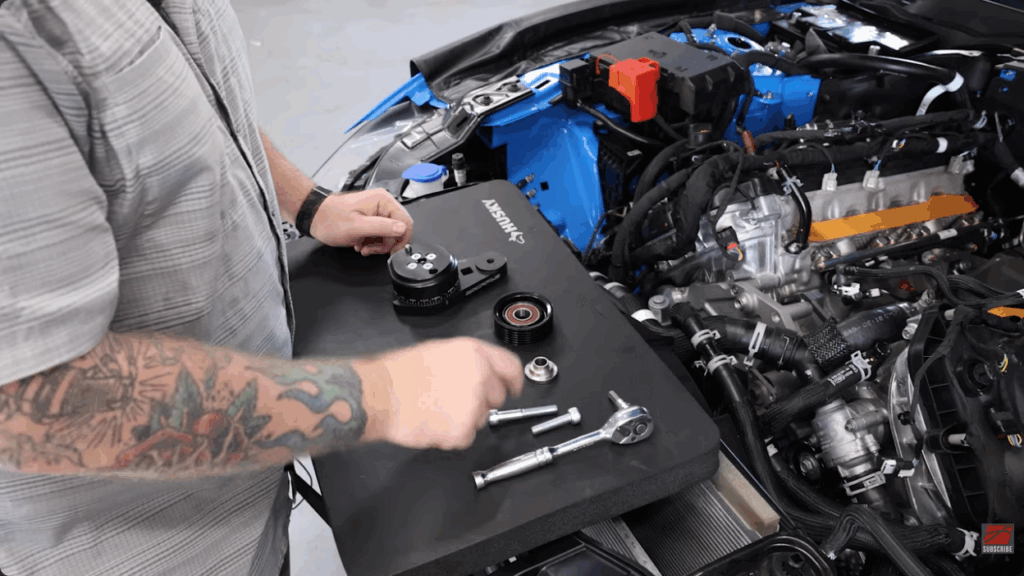
- Fit the harmonic balancer, following the proper torque sequence.
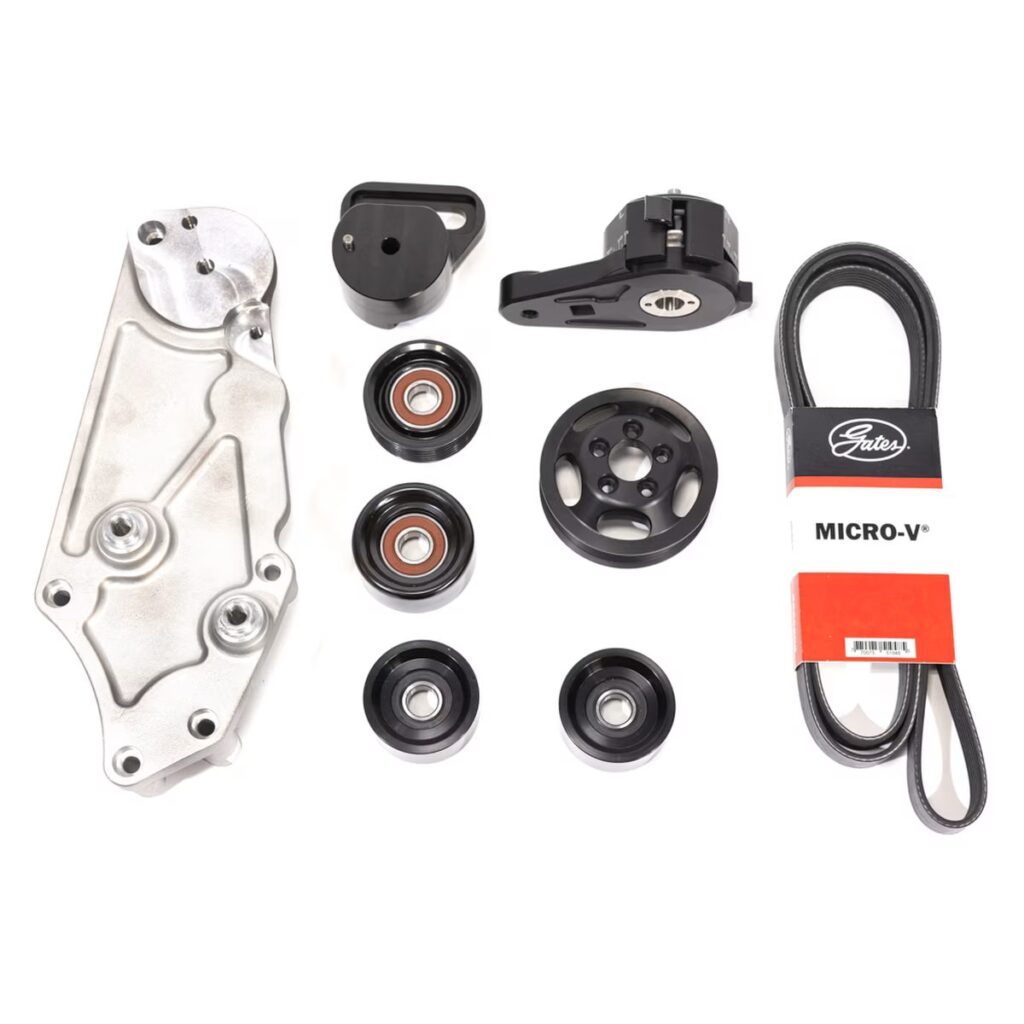
- Attach the new brackets and pulleys, including the “boomerang” and “Z” brackets that support the blower drive setup.
- Install the new belt system, ensuring the tensioner is properly aligned.
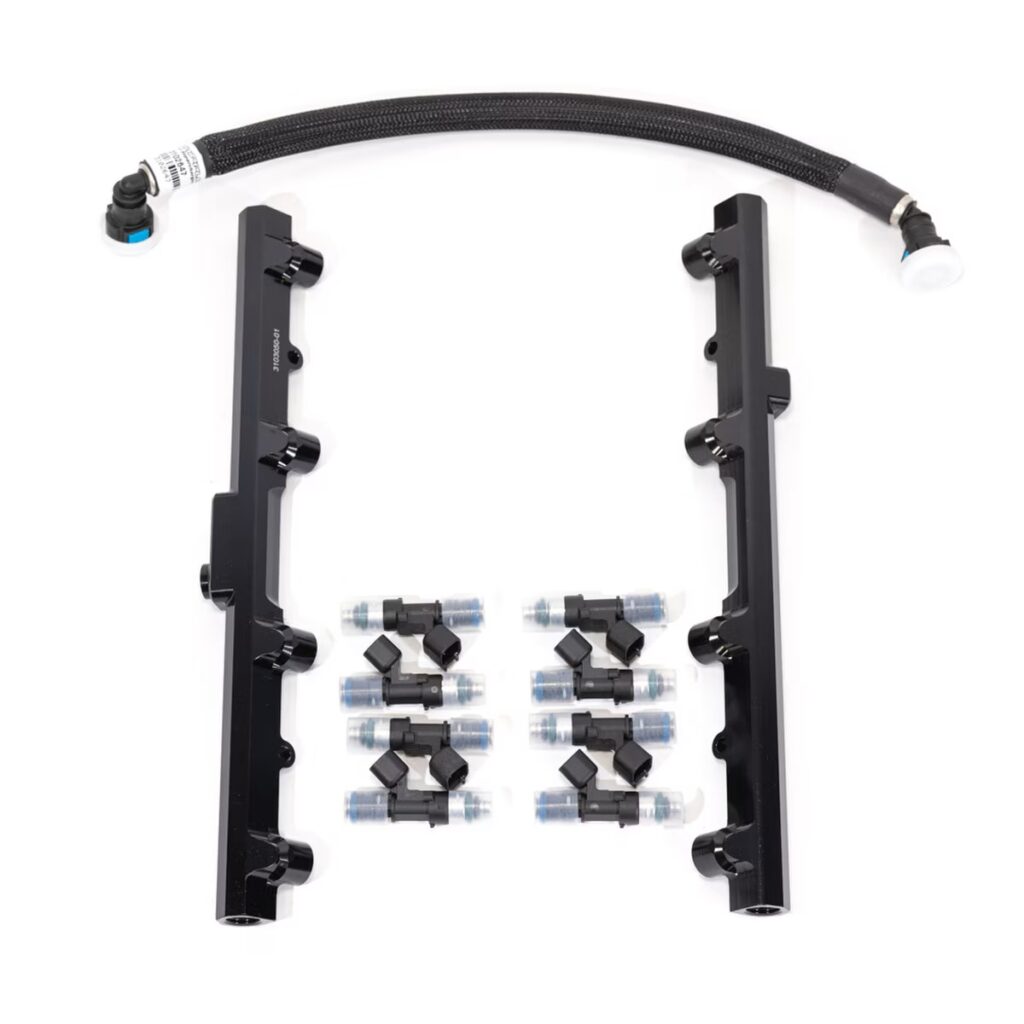
- Assemble the fuel rail and injectors, install them on the manifold, and connect the wiring extensions for MAP, IAT, and purge solenoid sensors.
Supercharger Installation
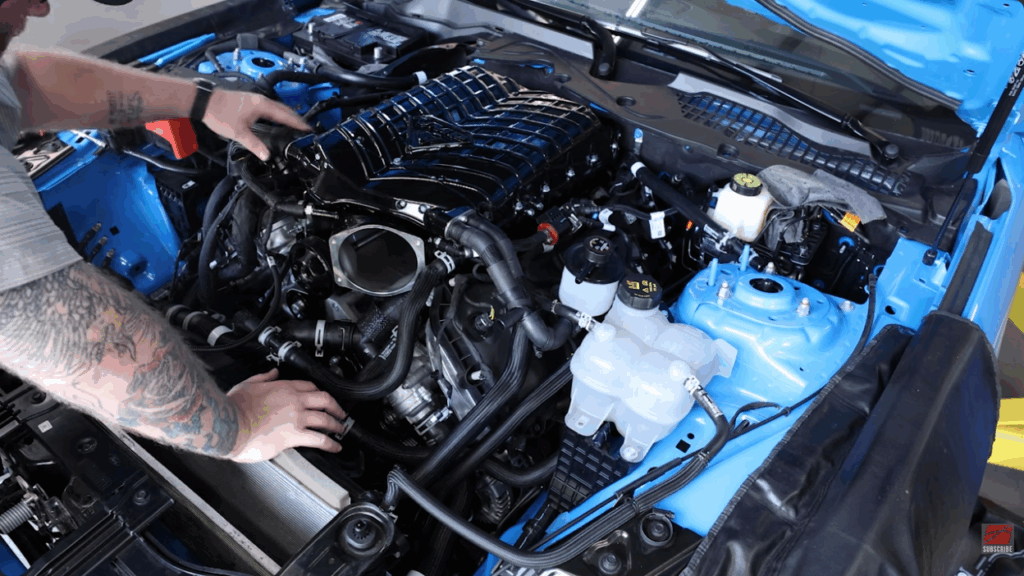
With the intake and brackets in place, it’s time to install the blower itself.
- Mount the supercharger onto the intake manifold, ensuring a clean gasket surface.
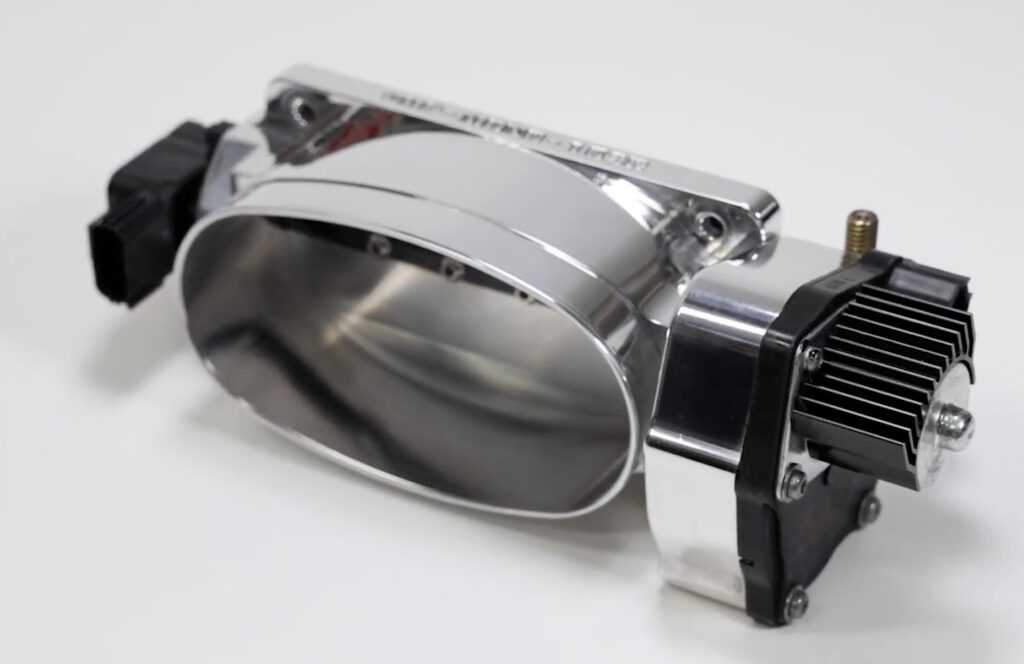
- Attach the throttle body using the supplied bolts and torque to spec.
- Connect the vacuum and PCV lines to their proper fittings.
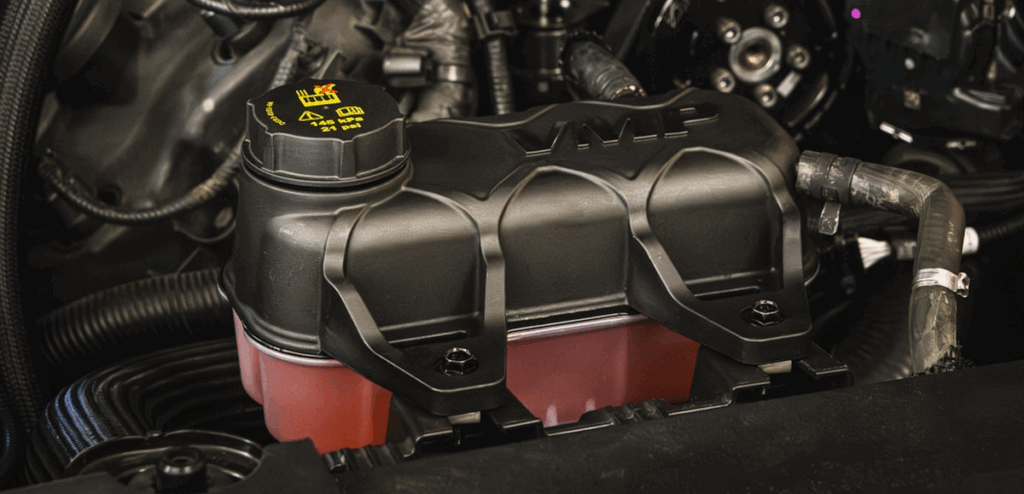
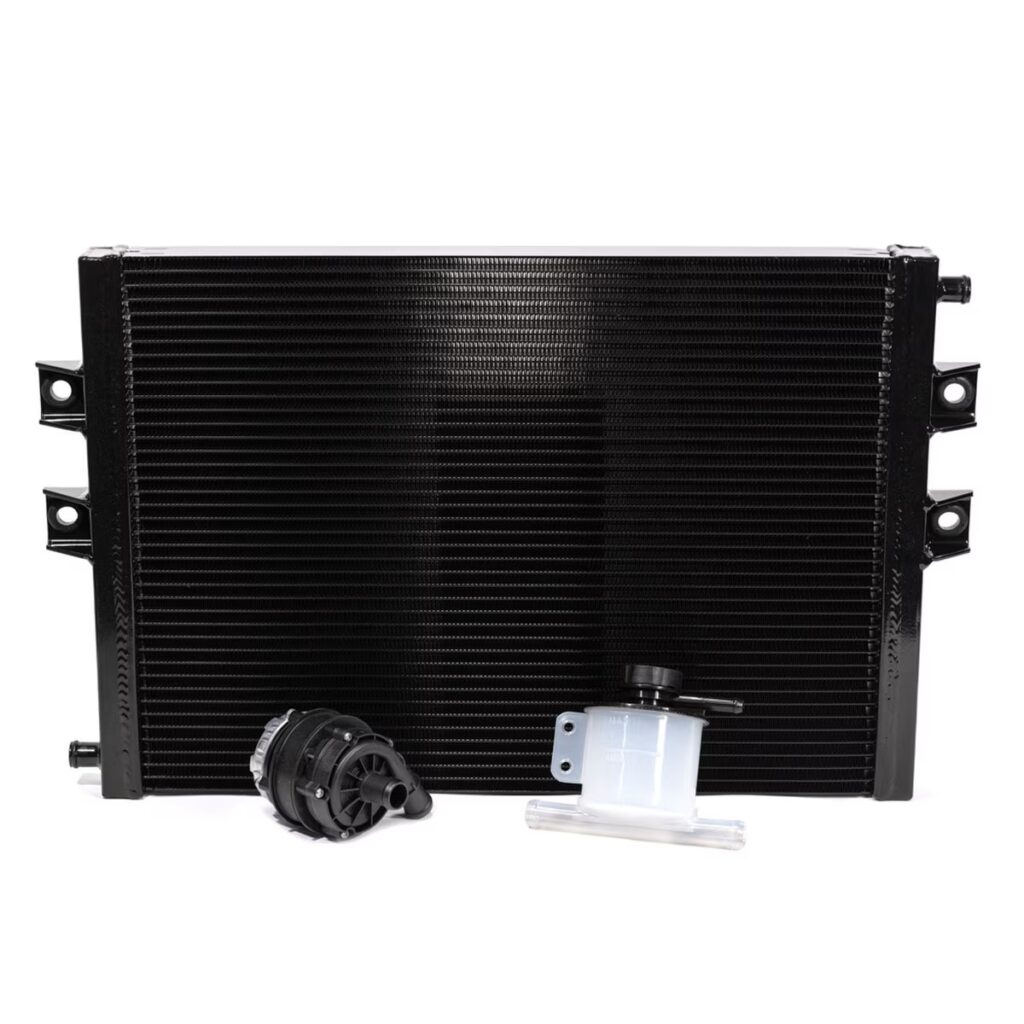
- Begin installing the intercooler system – this includes mounting the heat exchanger, pump, and degas bottles.
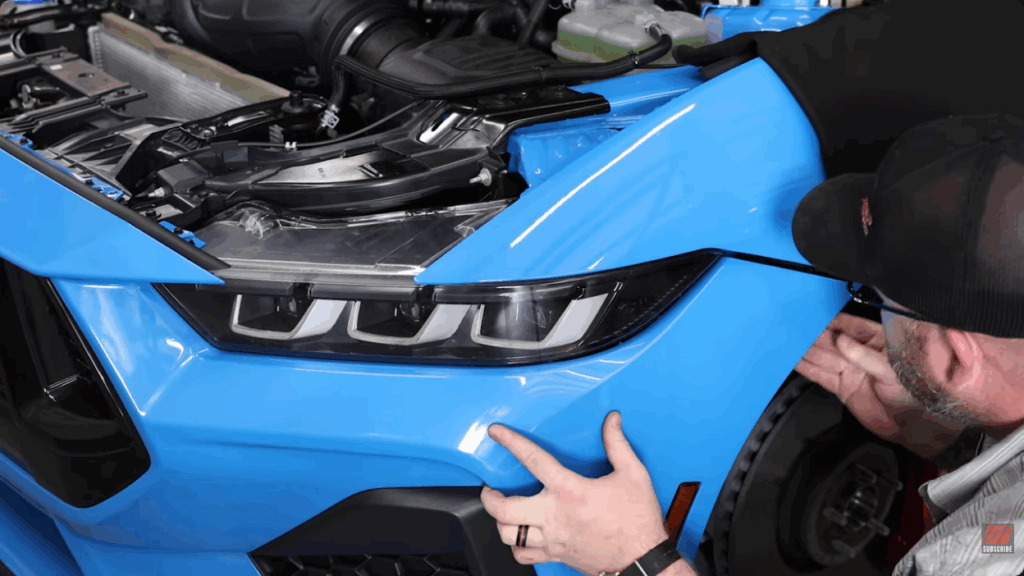
Install Tip: To make room, remove the front bumper trim, grille, and air dams. The heat exchanger mounts behind the front bumper using the provided standoffs and brackets.
Once installed, wire the intercooler pump into the fuse box and ground it properly.
Reinstall coolant and heater hoses, confirm hose routing is clean and free of kinks, and secure everything with clamps and zip ties.
Fuel System Modifications
The supercharger requires more fuel than the standard setup can provide, so the next step is upgrading the fuel system.
- Mount the fuel pump voltage booster behind the rear seat.
- Modify the Fuel Pump Driver Module (FPDM) by trimming the guide tab, then plug in the supplied jumper harness.
- Ensure all electrical connections are solid and grounds are clean.
- Reinstall the FPDM securely and confirm wiring is routed safely away from moving parts.
Final Assembly
Now, start wrapping things up and preparing for coolant fill and testing.
- Install the air-to-water intercooler hoses, ensuring proper direction from pump to heat exchanger to supercharger.
- Secure all hoses using constant-tension or worm-gear clamps.
- Reconnect the heater lines on both the driver and passenger sides.
- Reinstall the throttle body wiring, airbox assemblies, MAF sensors, and intake tubing.
- Make sure the filters are properly notched and seated in the airboxes.
- Plug in the MAF sensors and lock the connectors.
If you are ever uncertain of a step then refer to the comprehensive video above for a complete walk-through – pause and rewatch where needed!.
Coolant Filling And Bleeding
Both the engine and intercooler systems need to be vacuum bled to remove trapped air.
- Use an Airlift tool to pull 27 inHg of vacuum and verify no leaks.
- Fill the engine coolant system with the original coolant or a fresh 50/50 mix.
- Fill the intercooler circuit with a 70/30 antifreeze-to-distilled-water mix (orange coolant recommended for visual leak detection).
- Once full, replace the caps and double-check fluid levels after a few drive cycles – they may settle slightly as trapped air escapes.
Reassembly And Testing
Reinstall all front-end components, including the active grille shutters, ducts, underbody shield, and bumper cover. Secure all bolts, clips, and wiring harnesses neatly.
- Reconnect the battery cables and reinstall the battery cover.
- Flash the ECU calibration provided with your supercharger kit.
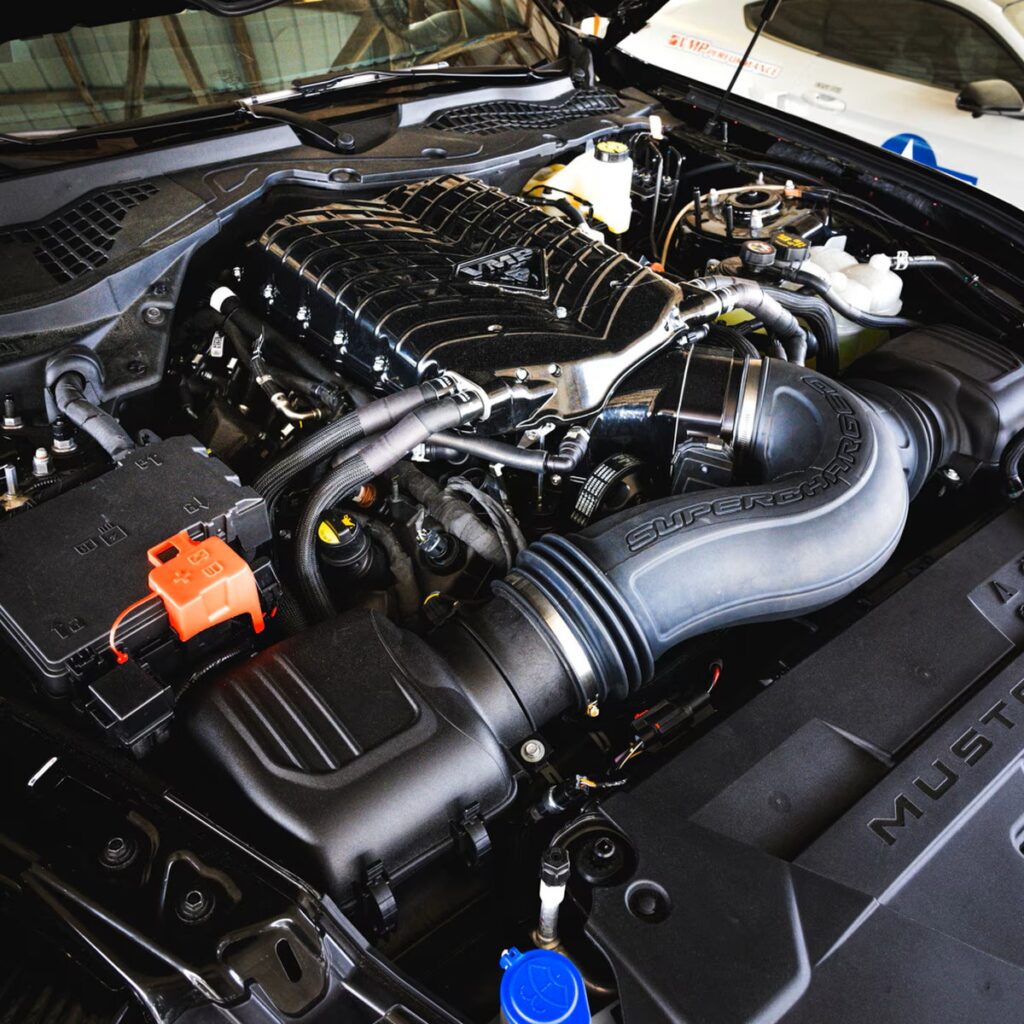
- Start the engine, check for leaks, and allow it to heat cycle.
- After the first test drive, recheck belt alignment, fluid levels, and clamps.
Unleash Your Ford Mustang GT Or Darkhorse With VMP Performance
At VMP, we’re real enthusiasts who want to help you get the most from your build. If you aren’t ready for a full supercharger kit, check out some of our individual component upgrades and parts below:
Follow our handy installation guide to install your own VMP Performance Gen 6 supercharger kit, or, if you prefer, we will gladly install your complete supercharger kit for your Mustang GT or Darkhorse. We eve offer stay-and-play packages if you want to plan your vacation travel around your upgrade – check them out here! We also offer an optional 3-year/36,000-mile powertrain warranty. Contact us today for more information on the products and services we offer.
Sign Up For Our Newsletter
Stay up-to-date to get up-to-date information on new products, news, and VMP sales!